{{ .TableOfContents }}
Hello Geeks! Today, I bring you a trending topic — “Microsoft 365.” Yes, you heard it right, but you might wonder, why bother learning about it?
Here’s the deal: If you’re in cybersecurity, understanding the ins and outs is crucial. Microsoft 365, or O365, is the go-to suite for most companies nowadays. So, it’s high time to delve into Microsoft troubleshooting, a paramount skill for any IT enthusiast.
However, I won’t take the traditional route today. Instead, I’ll make learning fun by diving into a real-world case study. No time to waste — let’s get started!
Task covered in this demonstration: Link to heading
- Buy licence and setup Microsoft 365 Account.
- Registering the domain name “nirmalunagar.com”
- User Onboarding: Creating single and bulk users using Microsoft templates.
- Ensuring Security: Setting up multifactor authentication for all users
- A guide to setting up Multifactor Authentication from the user’s perspective.
- Role Assignments: Allocating appropriate roles to employees
- Creating Microsoft groups and shared mailboxes.
- Assigning permissions from Exchange Admin Center to users.
- Recovering deleted files from OneDrive.
- Removing users and transferring ownership to other members.
…
“Nirmalunagar.com stands as a thriving digital marketing company, boasting a team of 20 dedicated employees. In a bid to elevate collaboration and productivity, the company has made the strategic decision to implement Microsoft 365. Imagine you’ve been brought on board in the role of a system administrator, entrusted with the responsibility of configuring the entire infrastructure for them. Below, you’ll find the necessary information.

The first thing you have to do is, purchase a 20 Microsoft licence for company. let’s do…
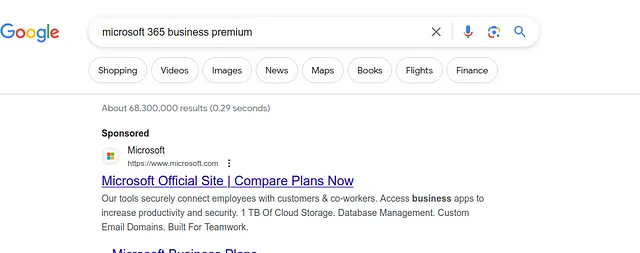
Head over to Google and search for “Microsoft 365 Business Premium.” Click on the first link that appears in the search results.
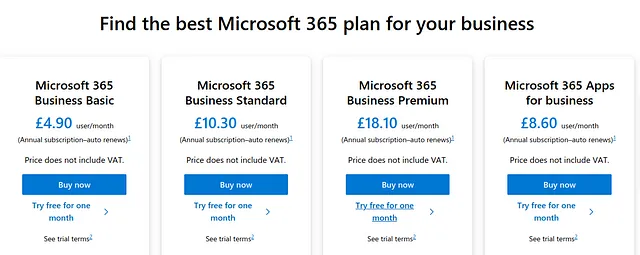
Choose the third option and ensure that you click on the “Free Trial for One Month.” This will provide you with additional information about the subscription.
Enter 20 users. Then go next…
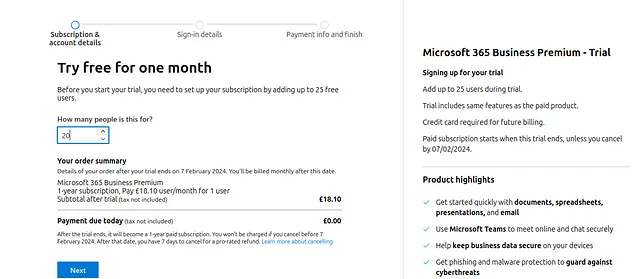
Enter your personal email; in my case, it is “[email protected].”
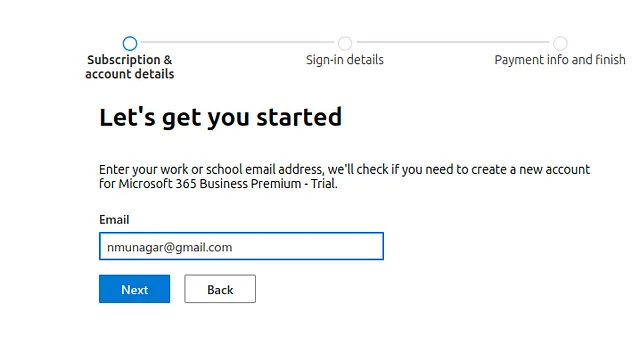
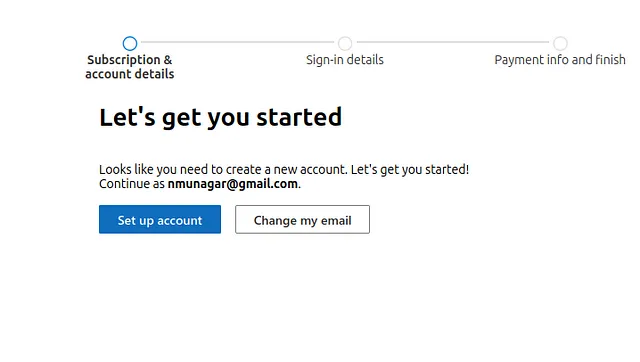
Next, set up an account and fill in all the required details.
In this step, the domain name is “nirmalunagar769.onmicrosoft.com.” All company users will receive this domain name in their email IDs.
If you do not have your own domain, you can choose the default one for now. However, since I have the domain “nirmalunagar.com,” I will update it later.
{style=“color: red”}

Finally, they will prompt you to add a payment method. Go ahead and add it; keep in mind that, they will not charge you during the trial period, so do not worry.
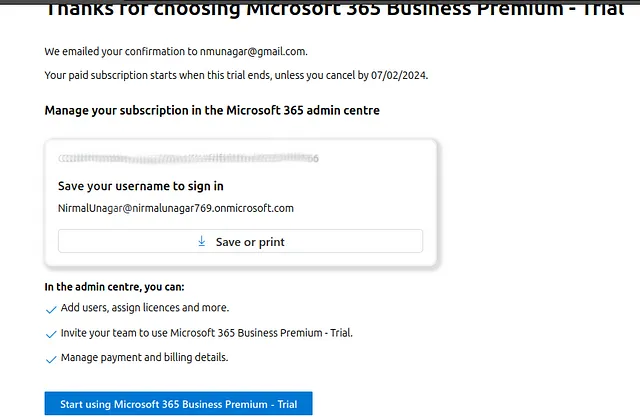
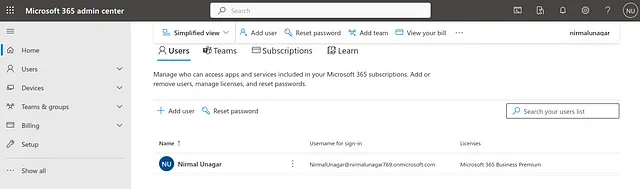
You can print this file for reference. You will need this username to log in as an admin. Upon logging in, you will encounter the Welcome wizard; go ahead and exit it.
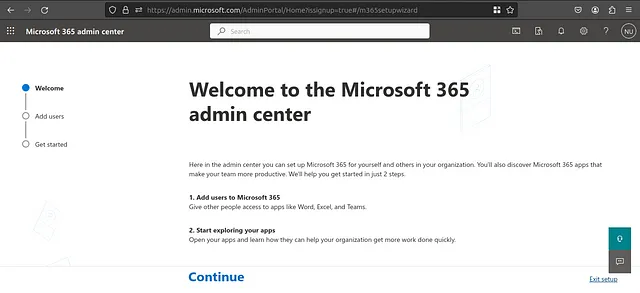
Under the Home tab, you can observe that you are an admin user, which is already completed. However, take note of the email ID; it currently ends with “onmicrosoft.com.” Now, we need to configure the domain name. Let’s proceed with that step.
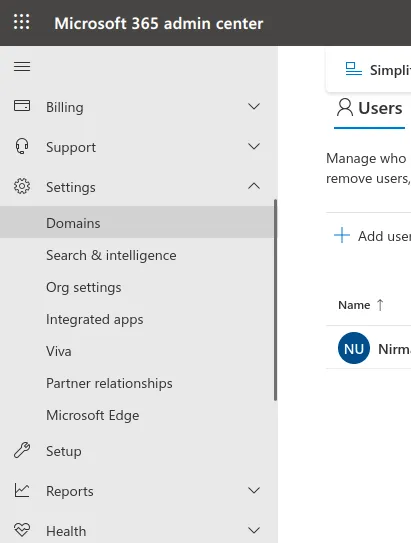
On the left pane, go to Setting → Domains.
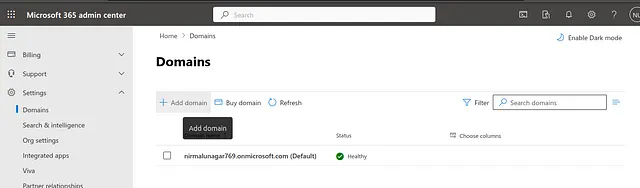
Click on “Add Domain.”
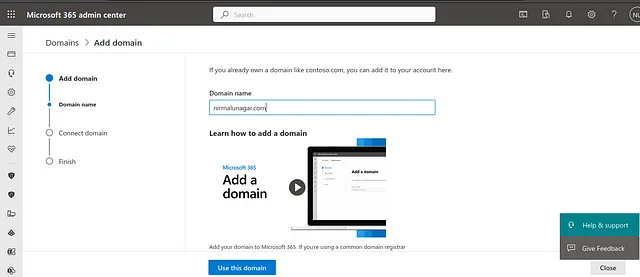
In the setup window, enter your own domain: nirmalunagar.com → Use this domain.
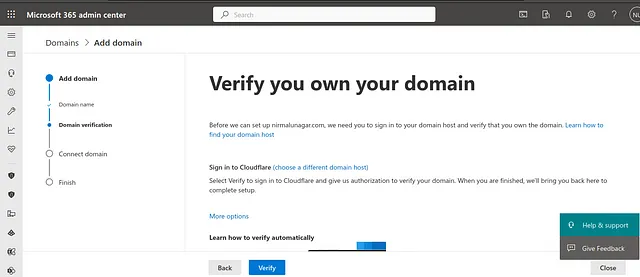
On the next step, click on “Verify.”
In my case, I am using Cloudflare for DNS, and Microsoft automatically detected my hosting provider. If it’s not automatically detected, you can select it manually.
It will display all the DNS records that it will add to your hosting provider.
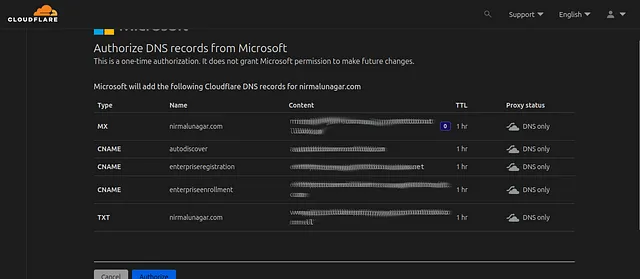
After clicking on “Authorize,” it may take some time for the changes to reflect in Microsoft. If you encounter any errors, I recommend adding the DNS records manually.
I attempted to add DNS automatically, but encountered an error. Therefore, I opted to add them manually, and the process was successful.
To add them manually, when you proceed to the next step, you will see a window like this.
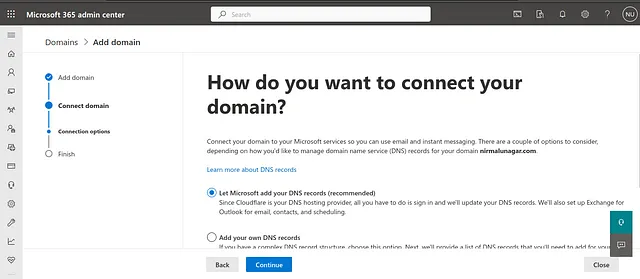
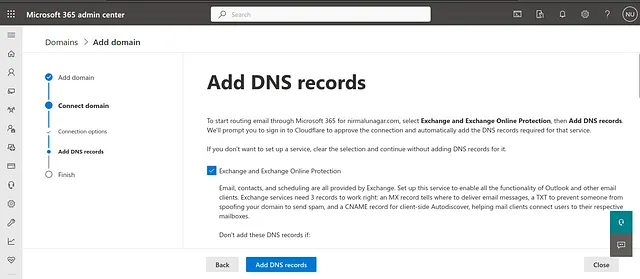
In the next step, it will take you to the DNS records, and you can select which records you want to add.
For example:
I have selected Exchange and Exchange Online Protection, which are essential for email setup.
If you do not plan to use Skype, make sure to uncheck “Skype for Business.”

If you need to add a mobile device in Intune, ensure that you check “Intune and Mobile Device Management for Microsoft 365.”
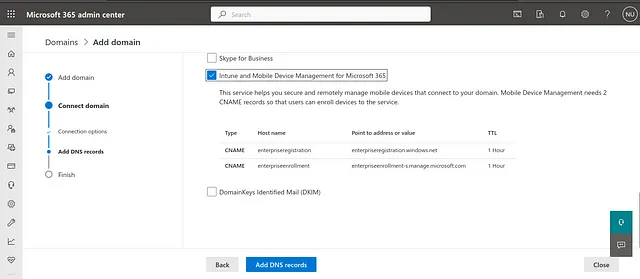
You can add each record to your DNS hosting provider one by one. Be careful not to make any mistakes in typos during this process.
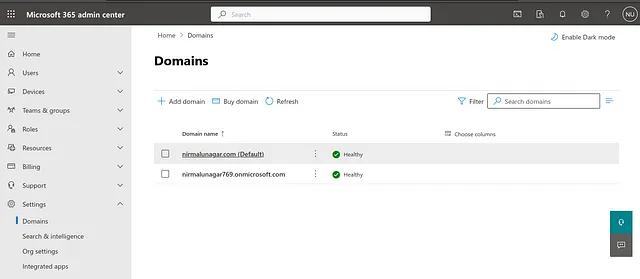
Once you’ve completed adding all the necessary DNS records, the status should be “Healthy.”
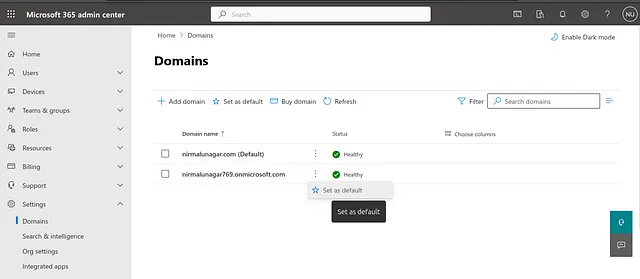
Ensure that the domain name is set as the default. If it’s not, you can make it the default by clicking on the three dots and selecting the appropriate option.
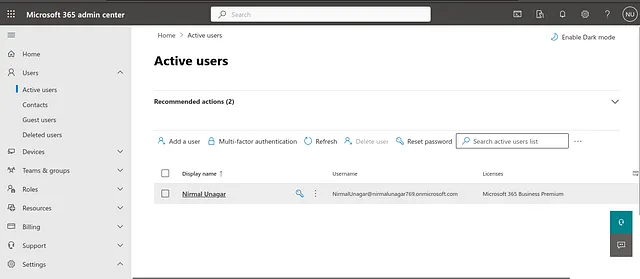
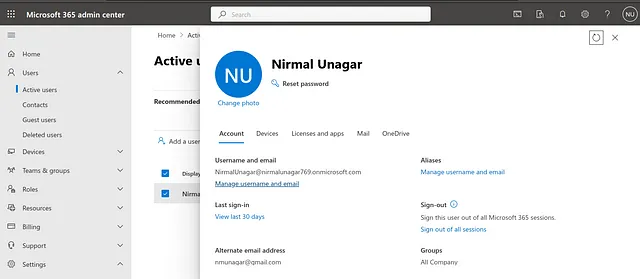
Now, as I have set my admin email ID to “[email protected],” go to Users → Active Users → Click on Nirmal Unagar.
Click → Manage username and email
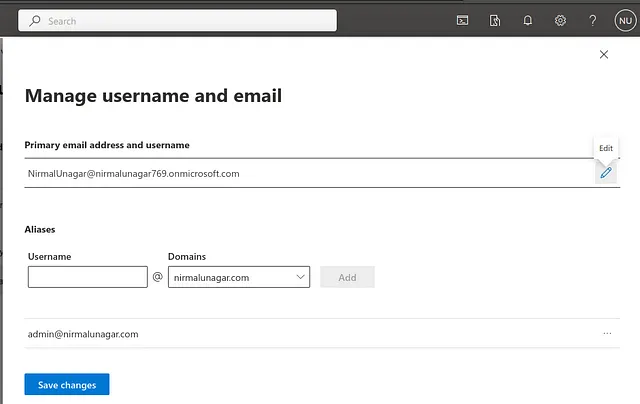
Edit the “Primary email address and username”
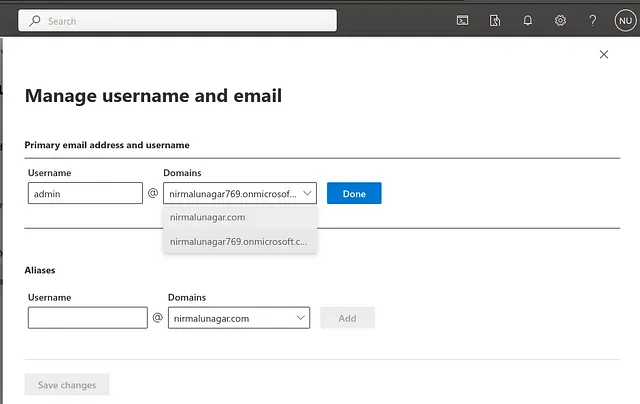
Enter “admin” and select “nirmalunagar.com” → Done → Save Changes.
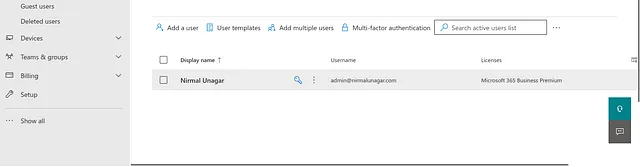
After completing these steps, you will be signed out. Next time, you have to log in with your domain email ID. As you can see, the username is now our domain mail.
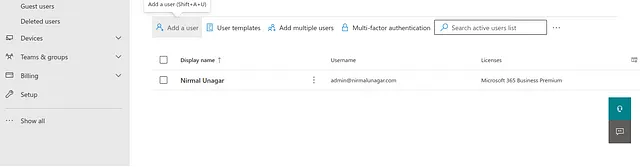
To create all company users, go to Users → Active Users → Add User.
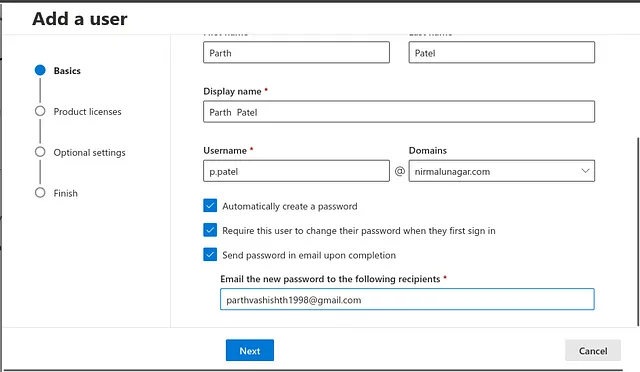
Complete all the necessary information. If you wish to create the password manually, uncheck the “Automatically create password” box.
The second checkbox indicates that when this user logs in for the first time, Microsoft will prompt the user to change their password.
The third checkbox allows you to send this user’s credentials to their personal email ID. In this case, you are sending it to Parth (employee).
Now, you need to assign the license; otherwise, employees will not be able to use all the products. Make sure to check the box for assigning the license.
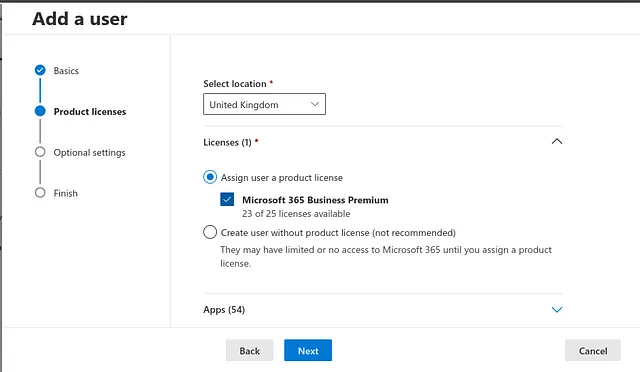
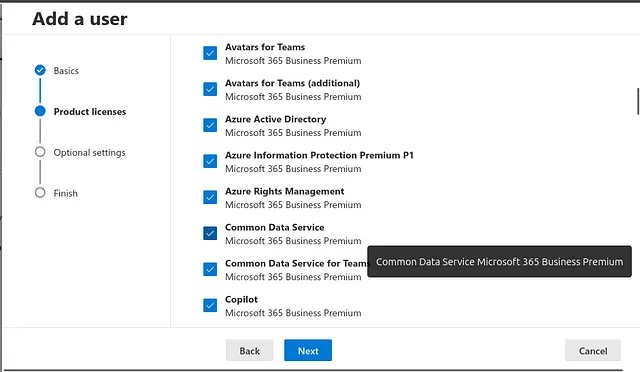
If you want to provide limited access, you can make selections from the “Apps” section.
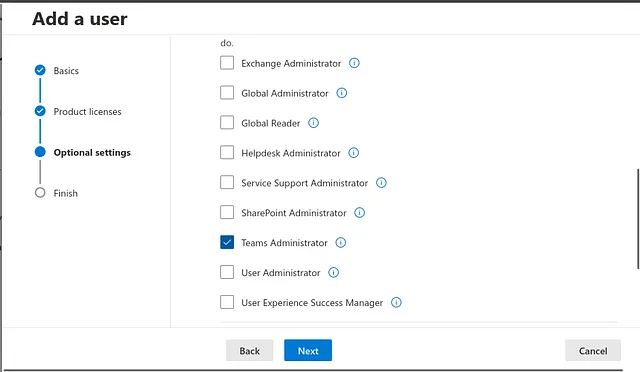
We need to assign a role to this user. Since Parth is the manager of the Finance team, I will make him a Team Administrator so that he can manage all Teams activities of the Finance team.
Click → Admin center access → Select “Teams Administrator”
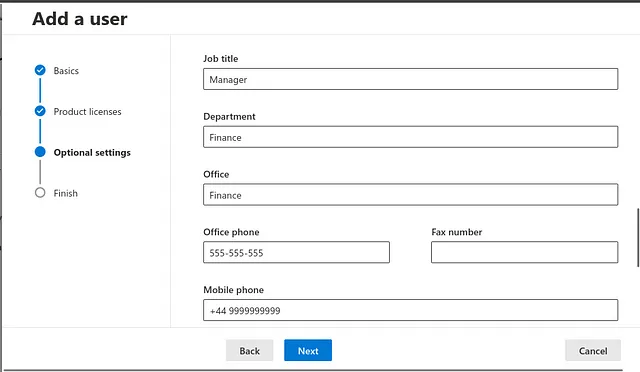
To complete his profile, go to → Profile Info → Add the necessary details.
To save time since you have 20 employees, you can add them in bulk. Go to Users → Active Users → Add multiple users.
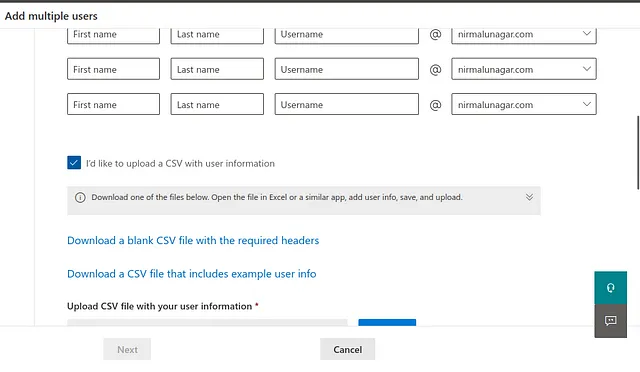
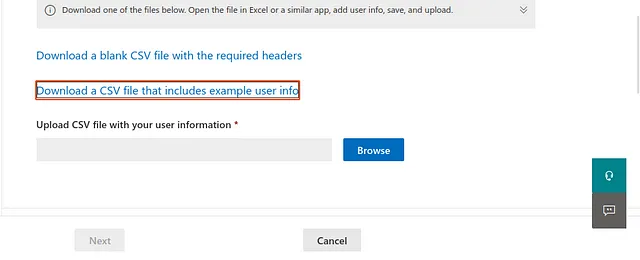
If you check this box, you will receive a CSV file template. Download it and add all the users’ information.

After adding the user information to the CSV file, go to Browse and select the CSV file you just created.
Assign the licence → add users.
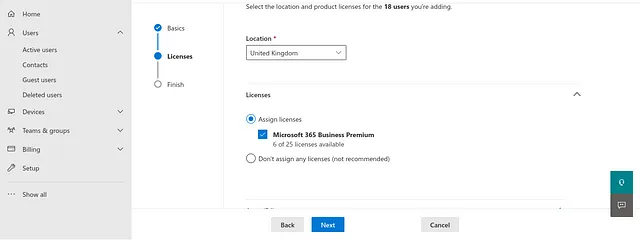
Here, they will prompt you to enter an email ID where Microsoft will send the credentials of all users.
Click on “Send mail,” or alternatively, you can download the user details as well.
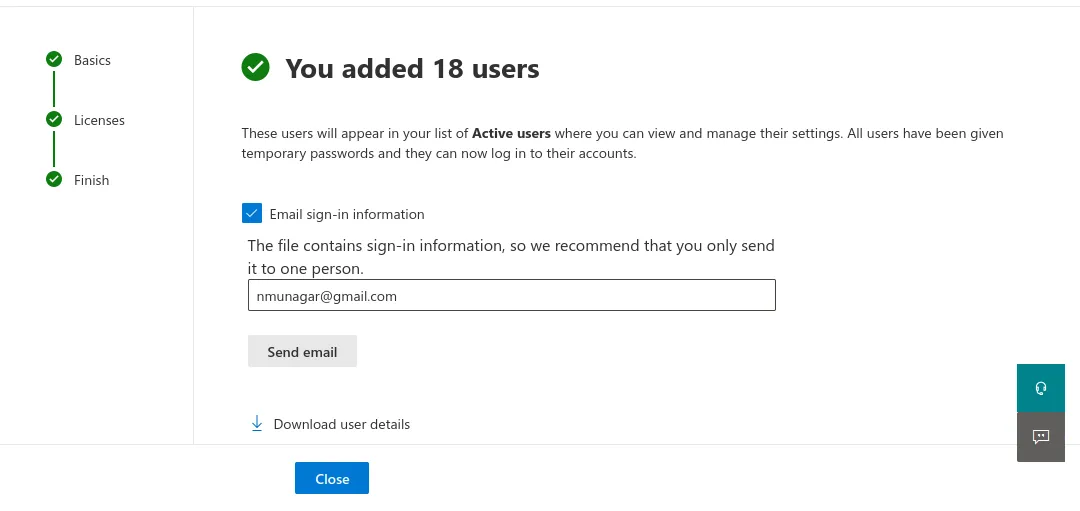
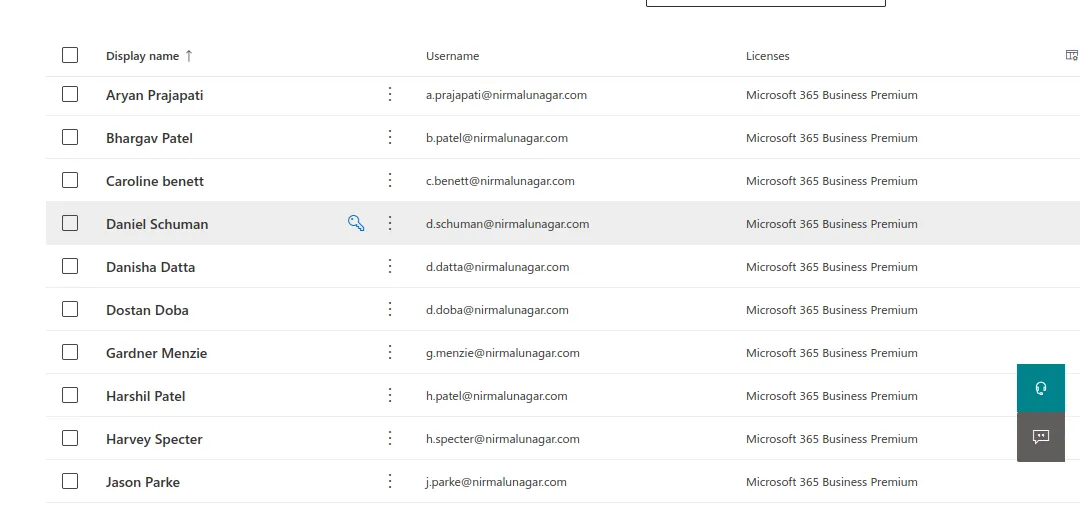
After it’s done, ensure that you check whether all users have been added successfully or not.
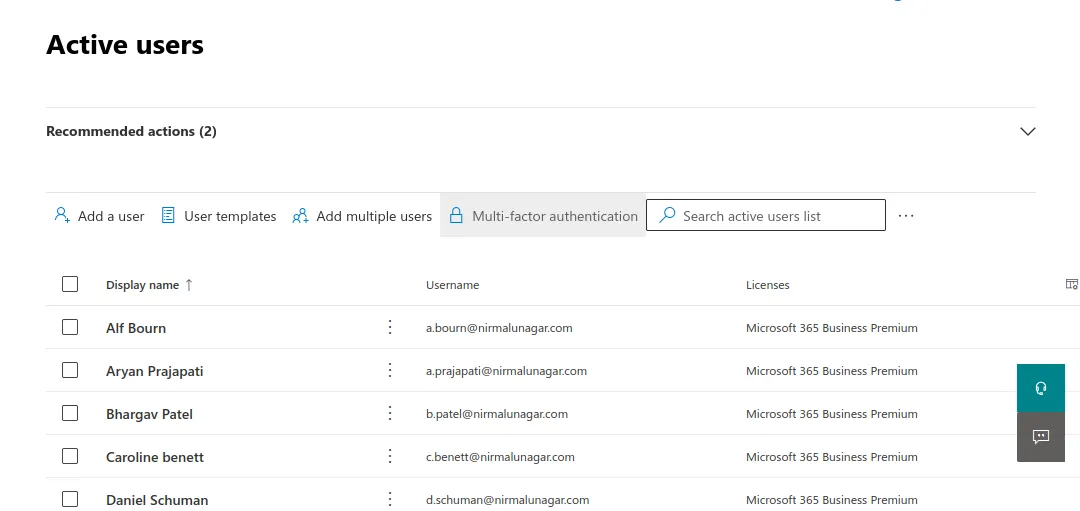
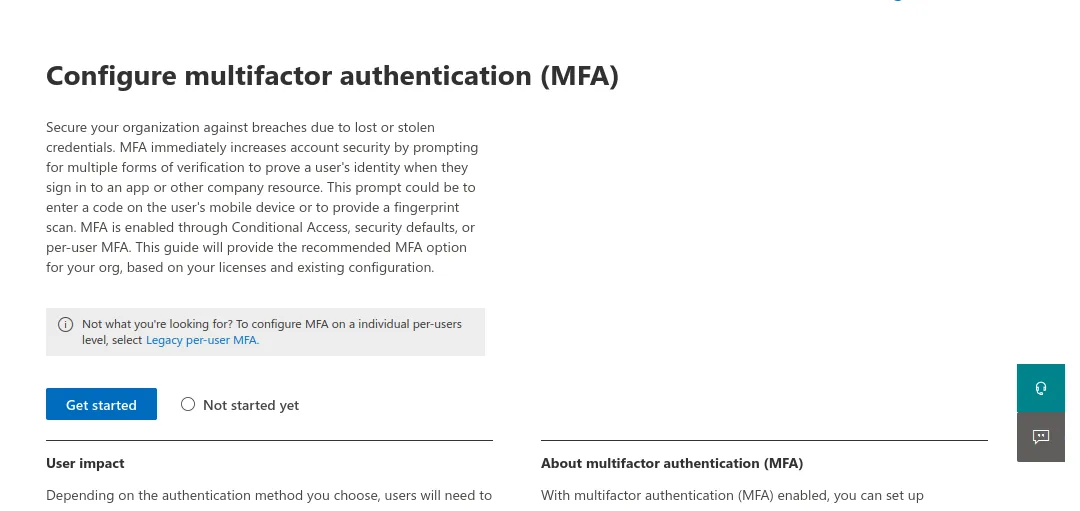
Now, a crucial step is to enable Multi-Factor Authentication (MFA) for all users.
Go to Users → Active Users → Select “Multi-factor authentication.”
Click → Get Started → Next
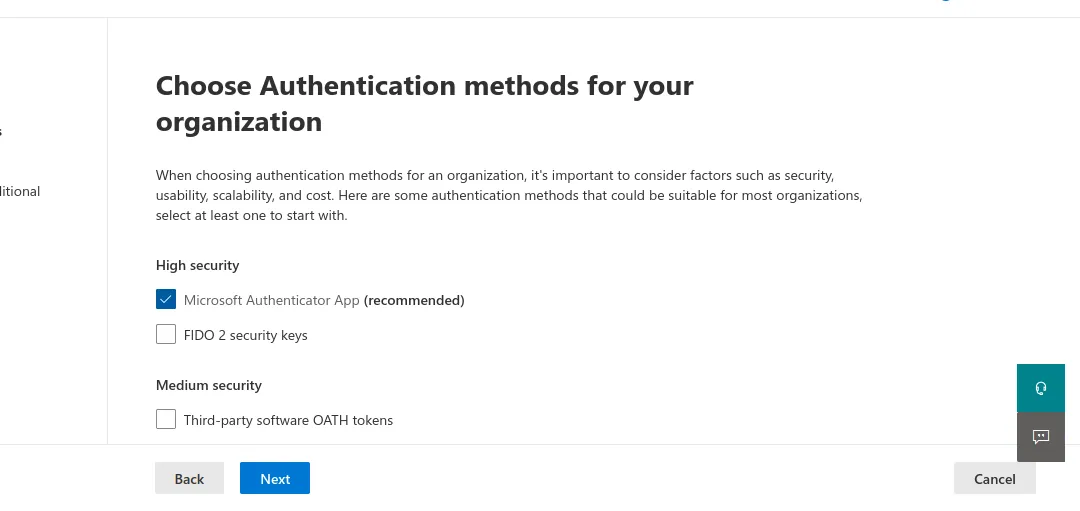
Here, select “Microsoft Authenticator App” and proceed to the next step.
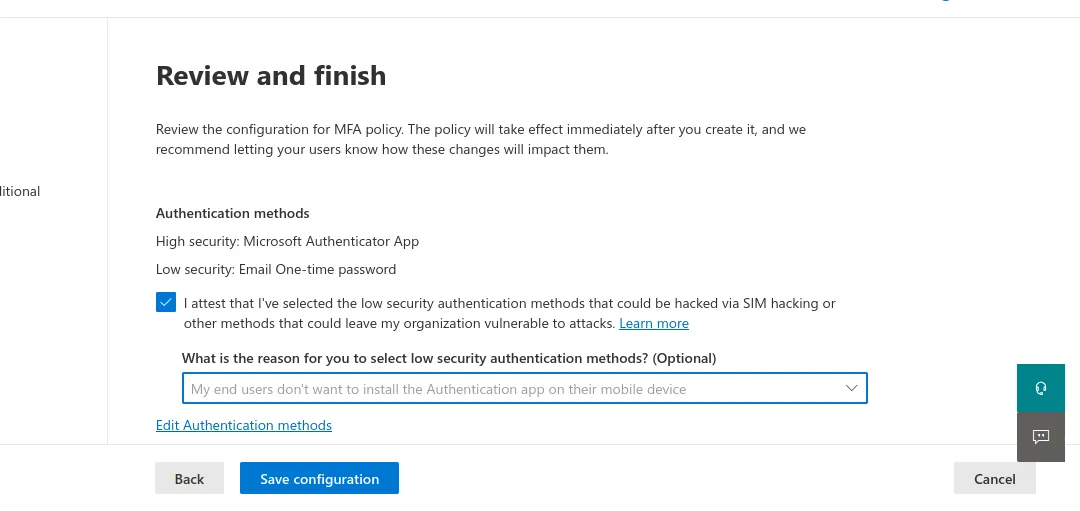
In the “Review and Finish” section, select any reason you prefer; otherwise, you won’t be able to proceed further and save the configuration.
Certainly, let’s switch to the user perspective and check the configuration.
So here, I am leyla Gibbs and I got credentials, I will go to Office.com and login via that creds.
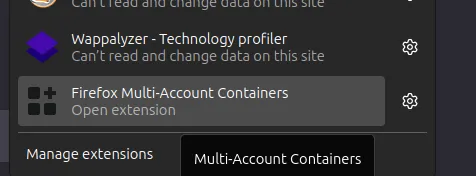
You can use “Firefox Multi-account containers” to manage multiple logins efficiently.
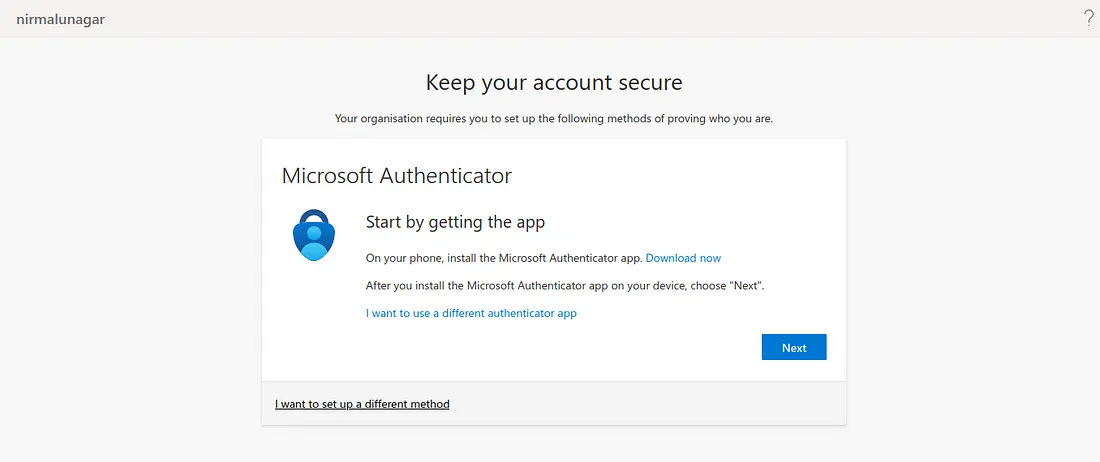
Once I log in with the credentials, I see the screen to set up the authenticator. I will follow these steps and complete the setup.
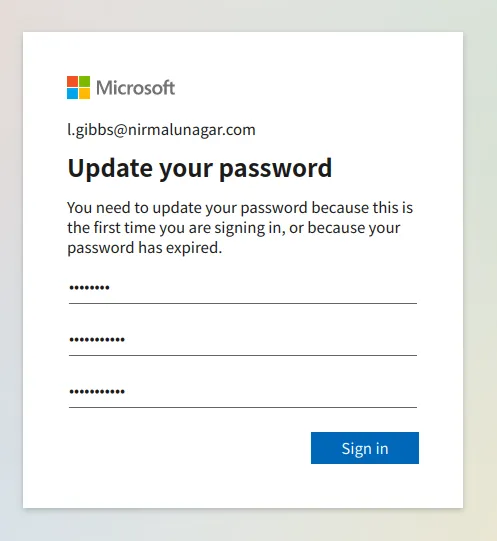
After setting up the authenticator, they are now prompting me to change the password. Proceed to change the password as instructed.
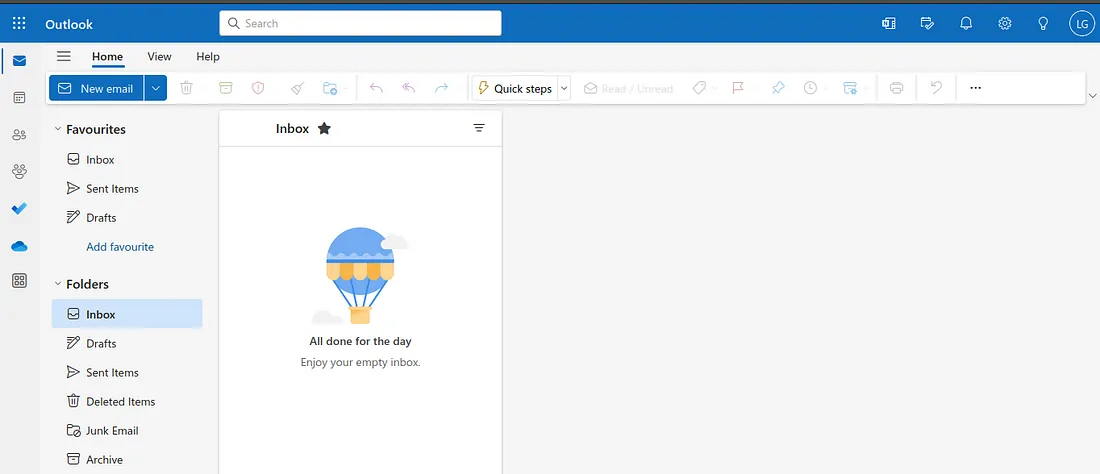
I have done all this, now I can use my account 😊 and I am able to use outlook and everything.
Yes, Leyla’s account setup process provides a comprehensive guide for all employees. Following these steps will ensure a smooth onboarding experience for everyone in the company. If any employee has questions or encounters difficulties during the setup, they can refer to this guide or seek assistance. It’s a well-structured process for a seamless transition to the new Microsoft environment.
As an IT admin, configuring teams through the admin center is a crucial step.
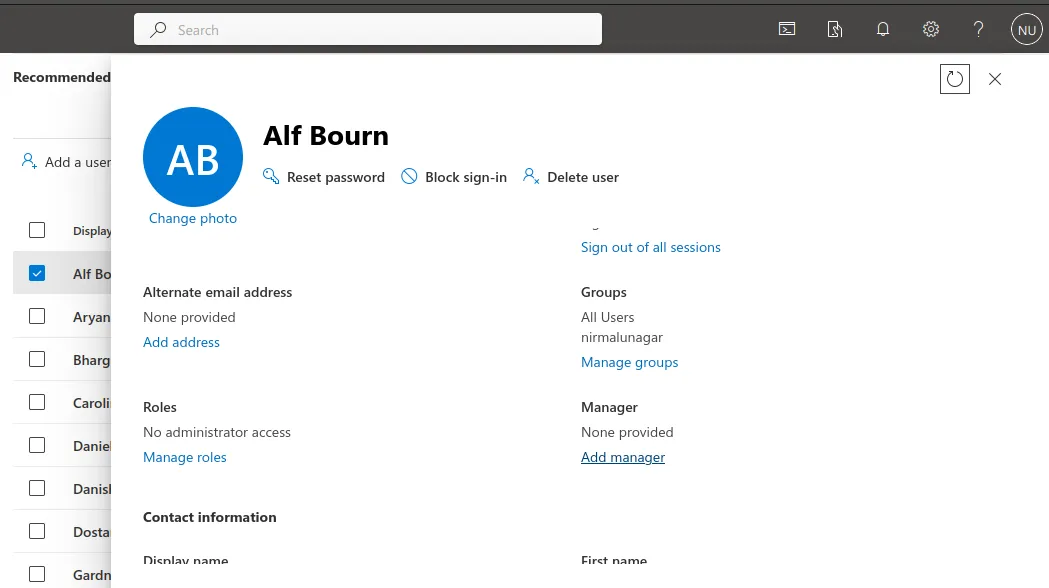
Follow the path Users → Active Users → select any User → Add manager.
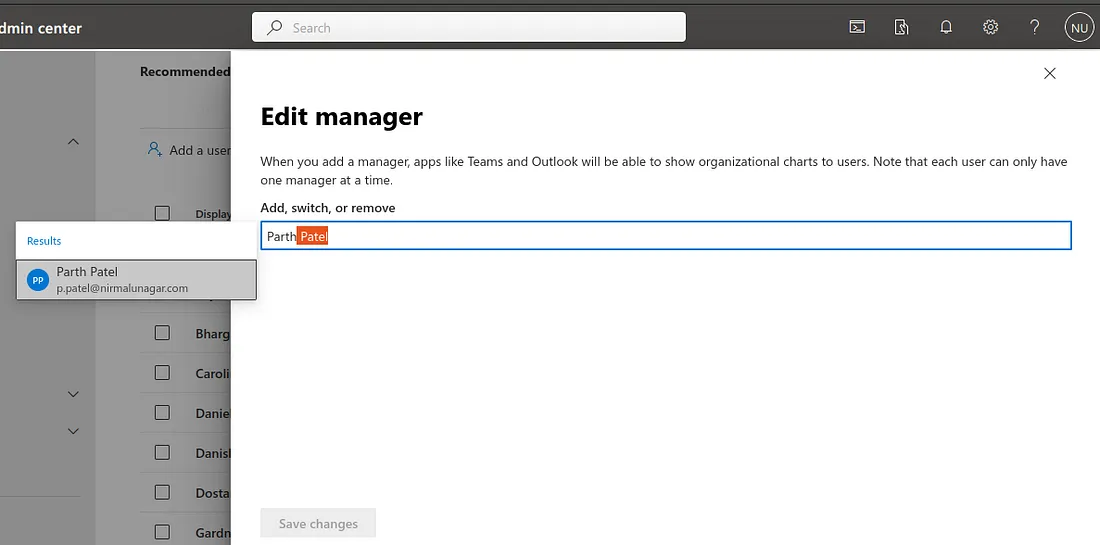
In this case, where Alf Bourn is in the Finance team, assign Parth Patel as his manager. This ensures a hierarchical structure within the organization.

Certainly, replicate the process for all employees based on the company structure. Ensure that each employee is assigned to the appropriate manager, reflecting the organizational hierarchy accurately. This helps streamline communication and responsibilities within the teams.
Here is team structure of nirmalunagar.com, so you can get idea.


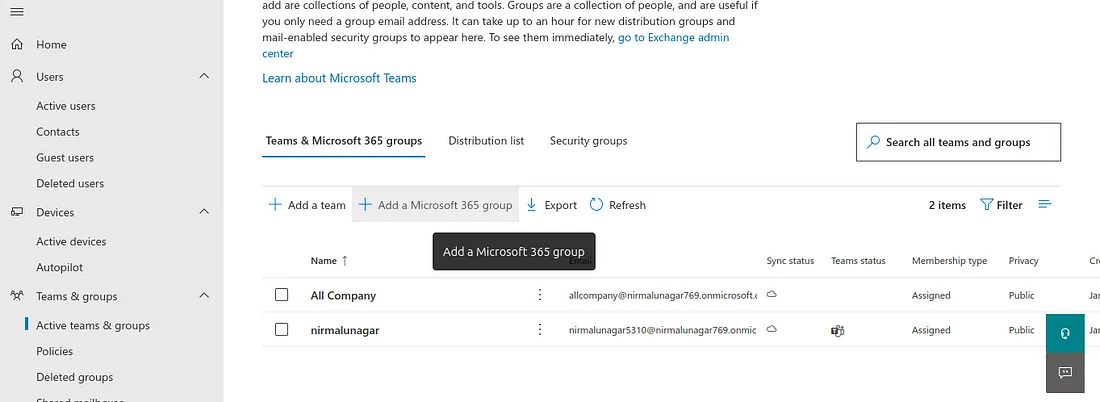
Now you have to create this same group on Microsoft 365.
Go → Team & Groups → Active teams & groups → Add a Microsoft 365 group
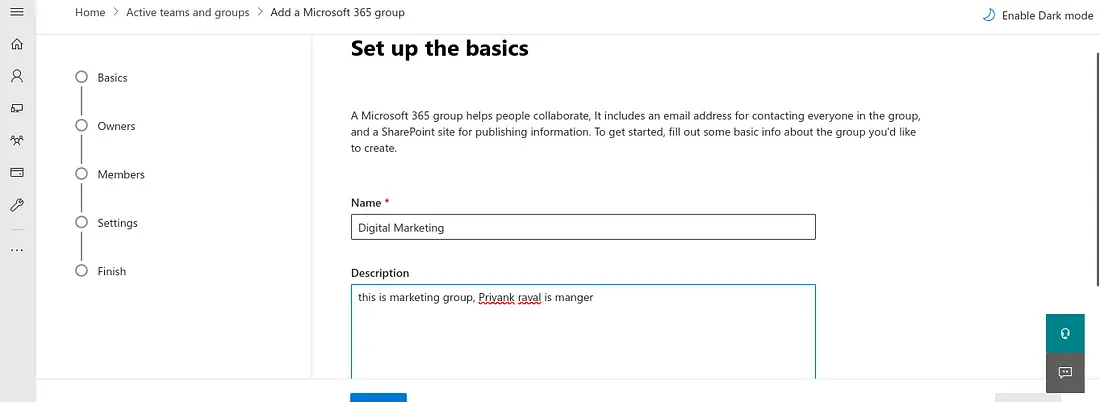
Write group name and some description.
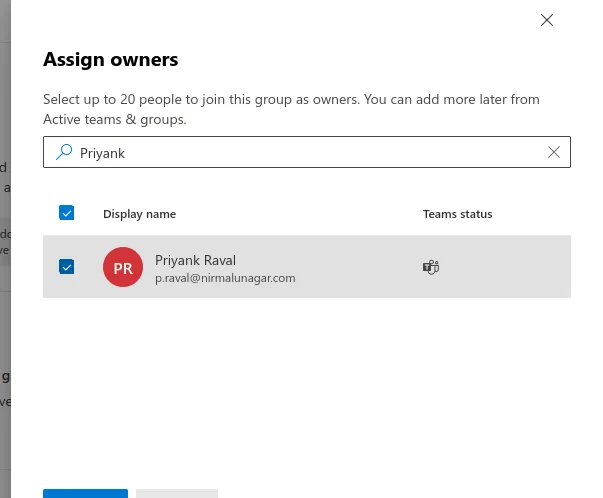
Click on → Assign owner → Add “Priyank raval” → next.
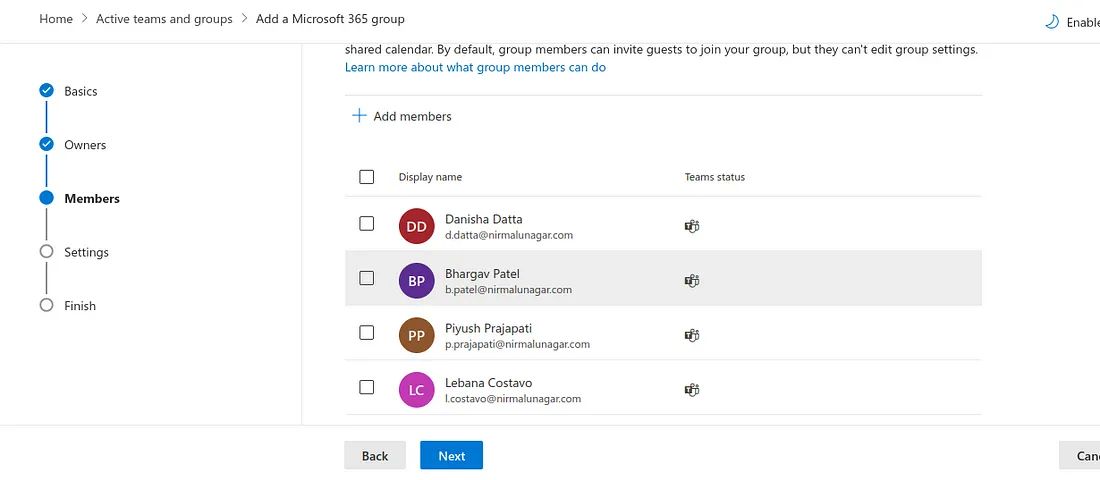
Add Member → Add all members which is part of that team → Next.
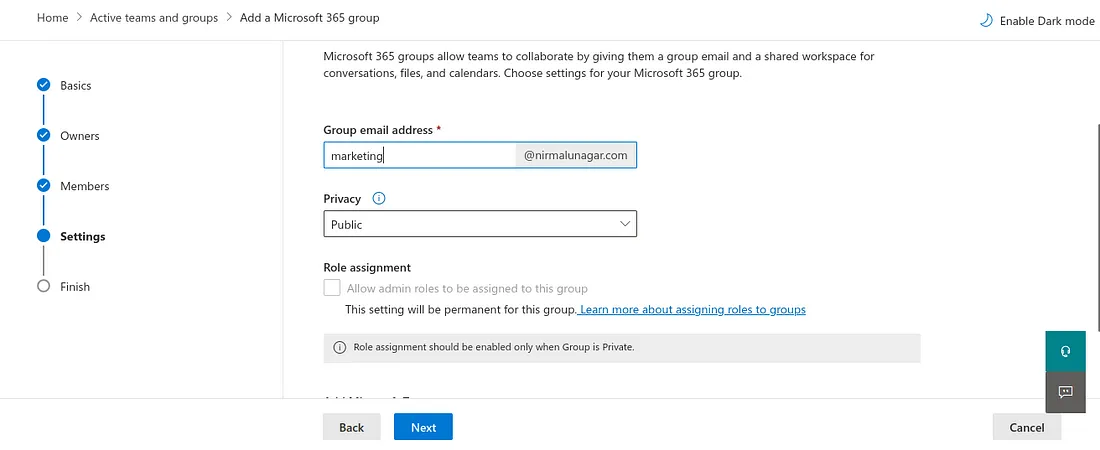
Now assign ‘marketing’ for mail.
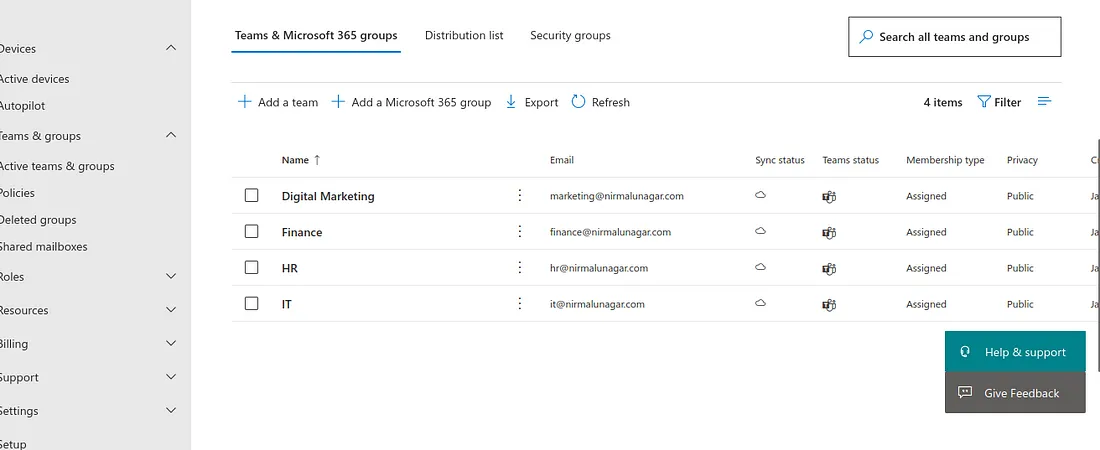
Do same for others group. When you perform this action, a shared mailbox will be automatically created. There is no need to create it manually through the Exchange Admin Center.
We now require a shared mailbox for each team to ensure that every team member receives emails from clients.
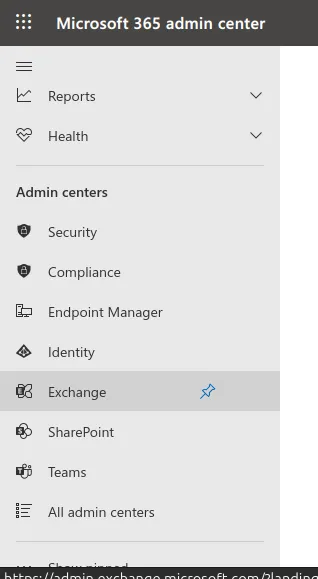
Go → Admin centers → Exchange
Exchange primarily serves mail management functions. Any troubleshooting related to email issues can be addressed through the Exchange Admin Center. For additional information, please refer to the provided documentation. https://learn.microsoft.com/en-us/exchange/exchange-admin-center
On this Exchange admin center, Go to → Recipients → Groups.
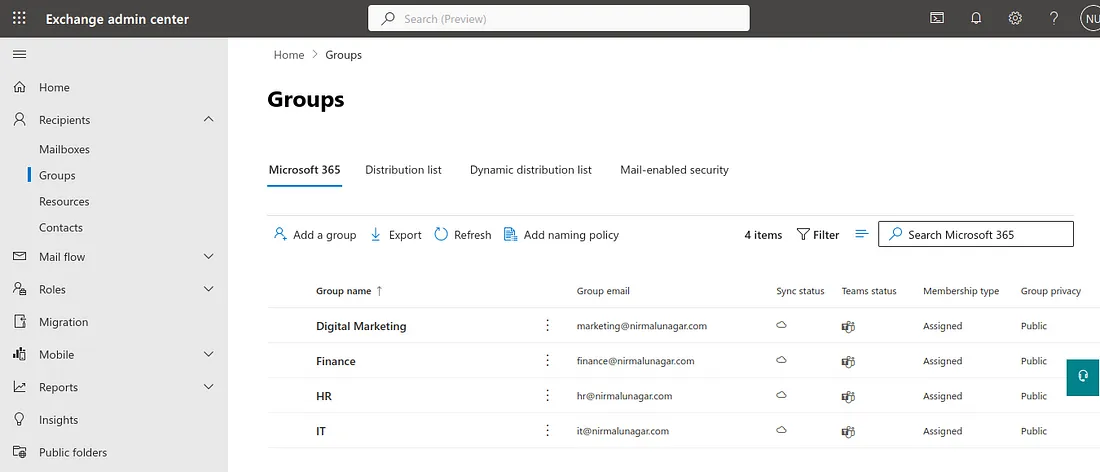
As you can observe, shared mailboxes are automatically created when we set up teams, eliminating the need for manual creation. However, if necessary, you can manually create them from this interface.
Ensure to configure one essential setting here: Go → Digital Marketing → Settings → Select “Allow external senders to email this group”
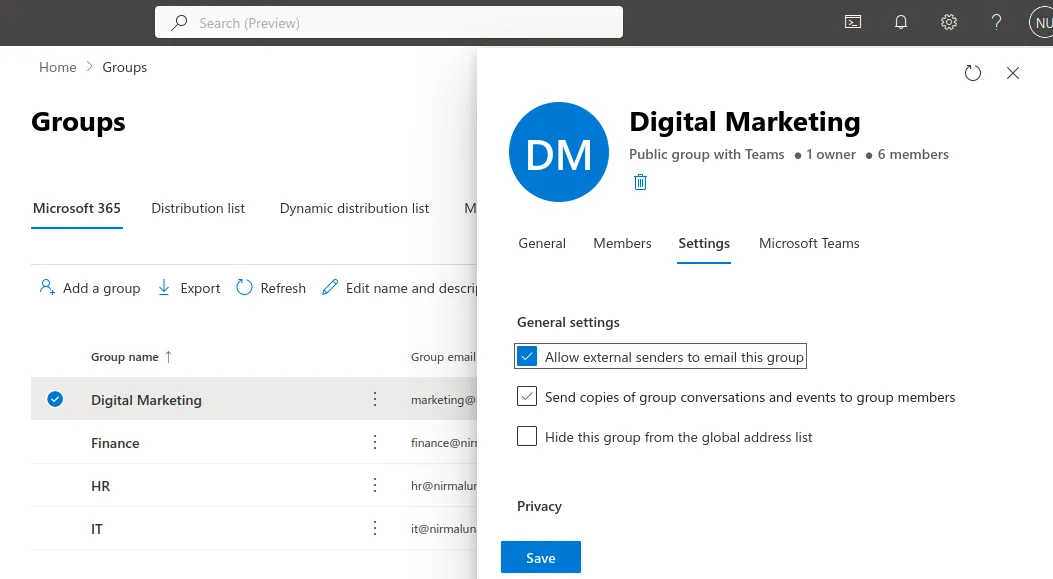
scroll down…
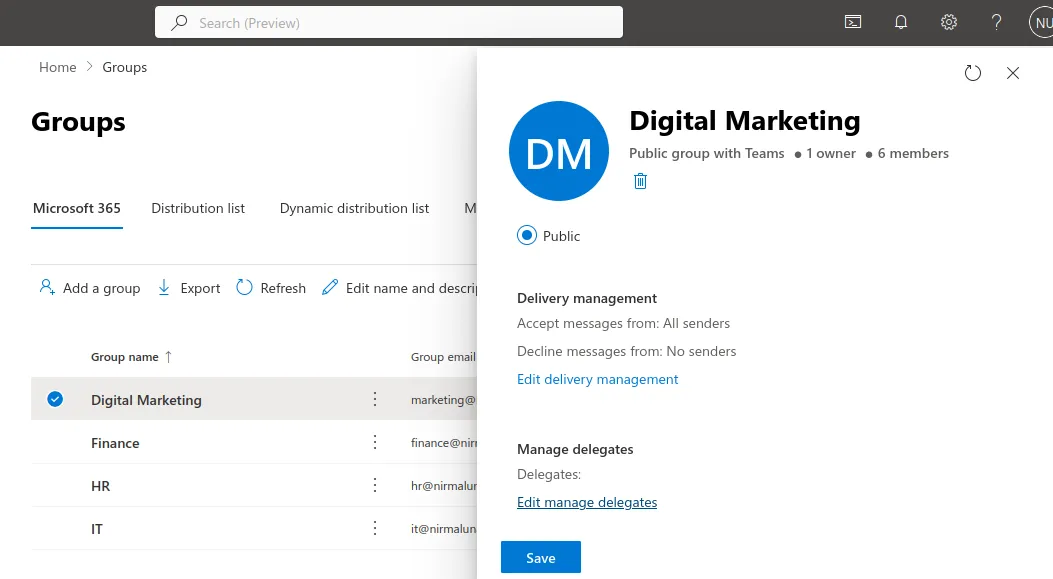
Under Manager Delegates , Click → Edit manage delegates.
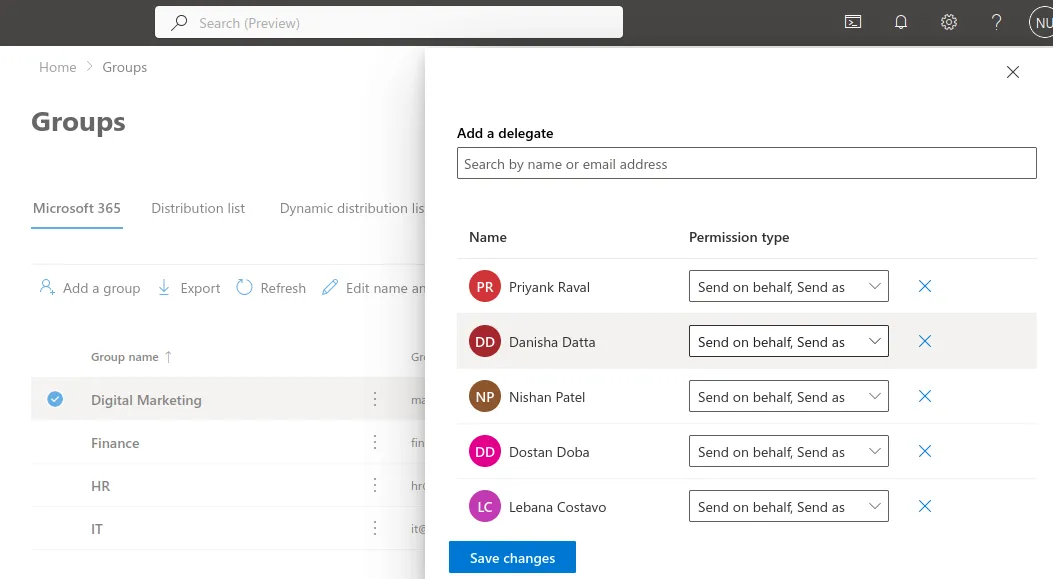
Add all members of the Digital Marketing team and grant them ‘Send on Behalf’ and ‘Send As’ permissions. Repeat the same process for all other groups.
For instance, if XYZ client sends an email to the marketing group, Danisha wishes to reply without disclosing her email ID in the ‘sent from’ option. Instead, she prefers to display the email ID as ‘[email protected]’ to that client. If this is unclear, no need to worry; we will demonstrate this in a practical session.
I am Parth, a manager in Finance. Our client, Delta Tech, sent an email to me at [email protected]. Upon checking my account in Outlook, I noticed that I am a member of the finance group email.
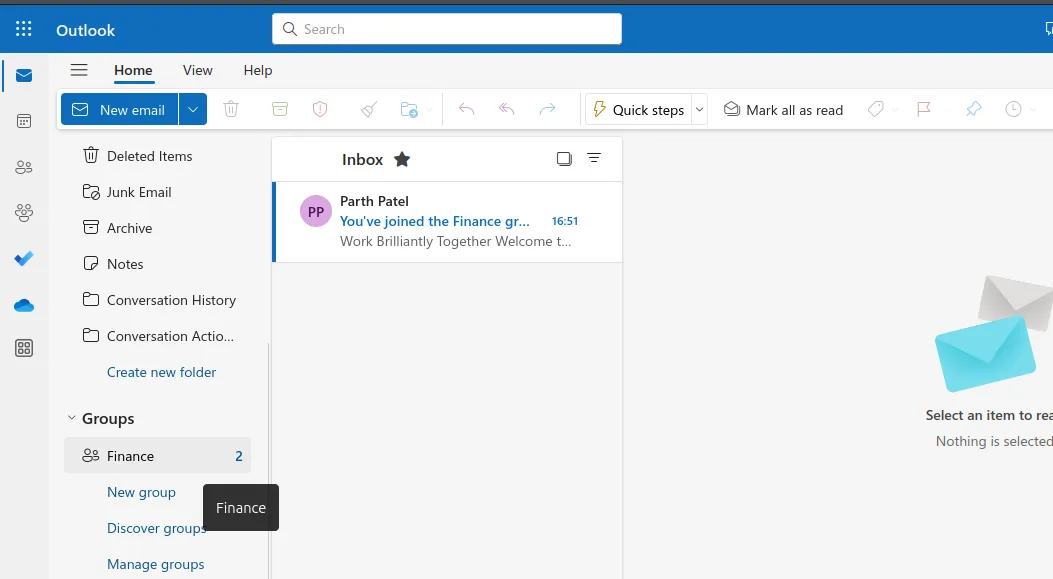
I received an external email that is visible to all members of this group, allowing anyone to respond.
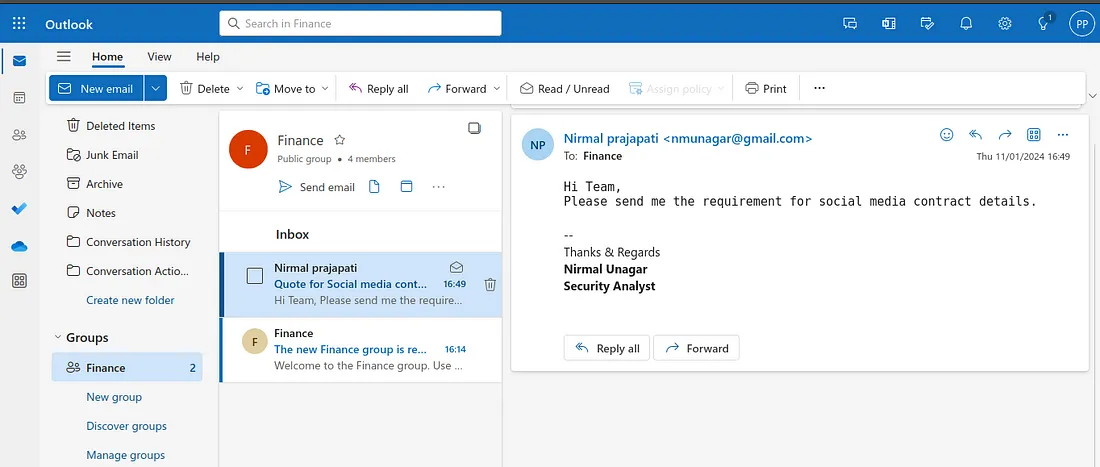
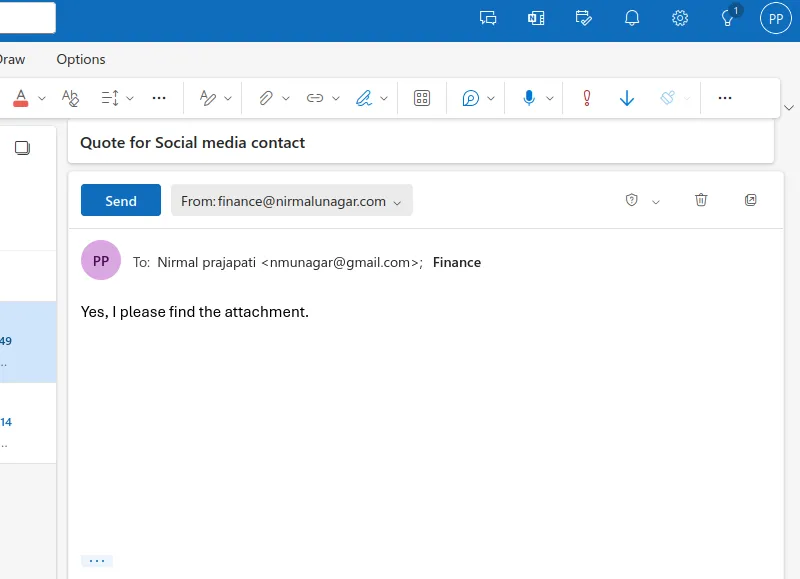
I’m responding to the email, but I prefer that the client doesn’t know it’s from me personally; instead, they should perceive it as a reply from the finance team.
As you can observe, the ‘From’ address is set as [email protected], indicating that the email will be sent on behalf of the finance group. You also have the option to choose your personal email ID if you prefer.
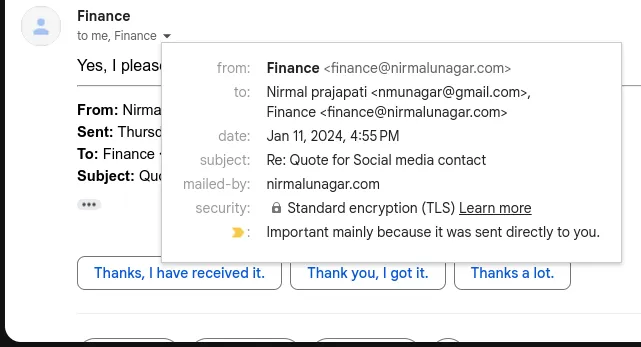
Notice that in the client’s inbox, emails are arriving from [email protected] and not from [email protected]. Now, do you understand the reason for assigning that permission?
One of employees accidentally deleted a critical file from OneDrive and is unsure how to recover it. He has approached you seeking assistance in the recovery process.
Parth deleted a file from his personal OneDrive account.
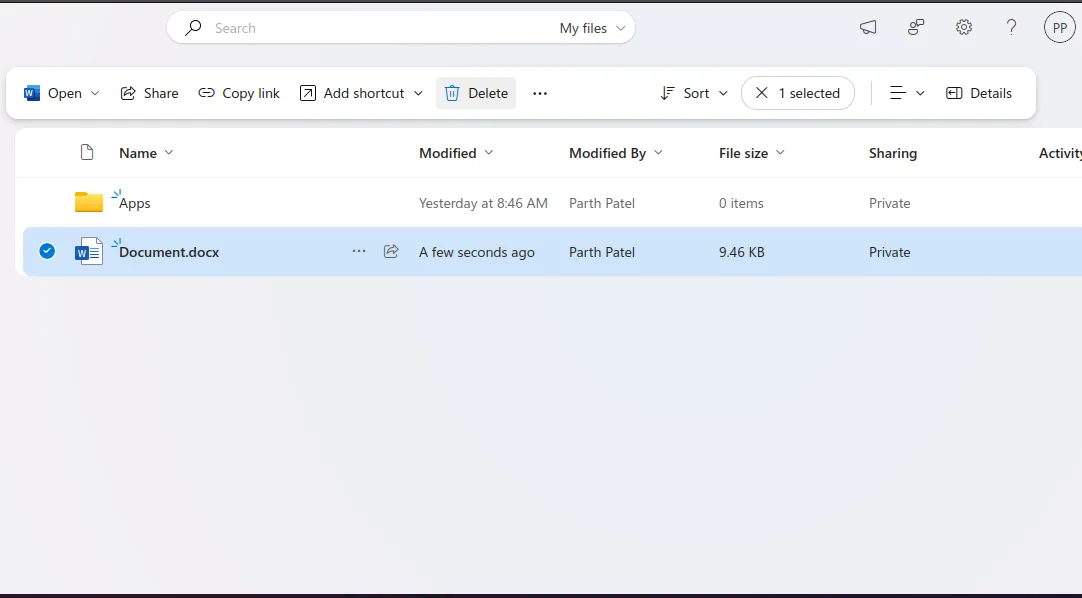
Additionally, he has emptied the recycle bin. It is now your responsibility to recover that file.

Go → Admin Center → Active users → Select “Parth Patel” → One drive → “Create link to files”
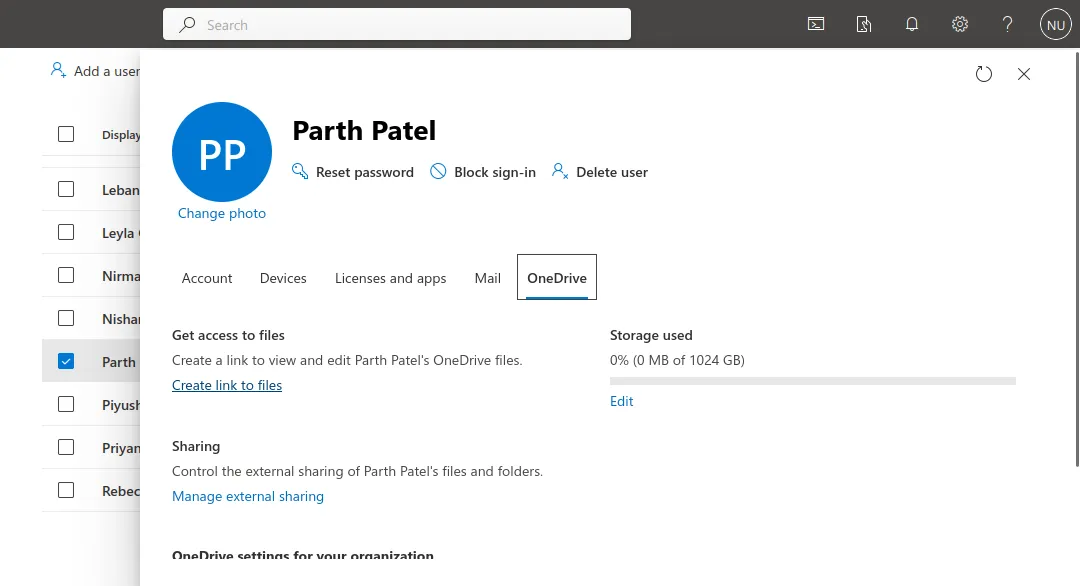
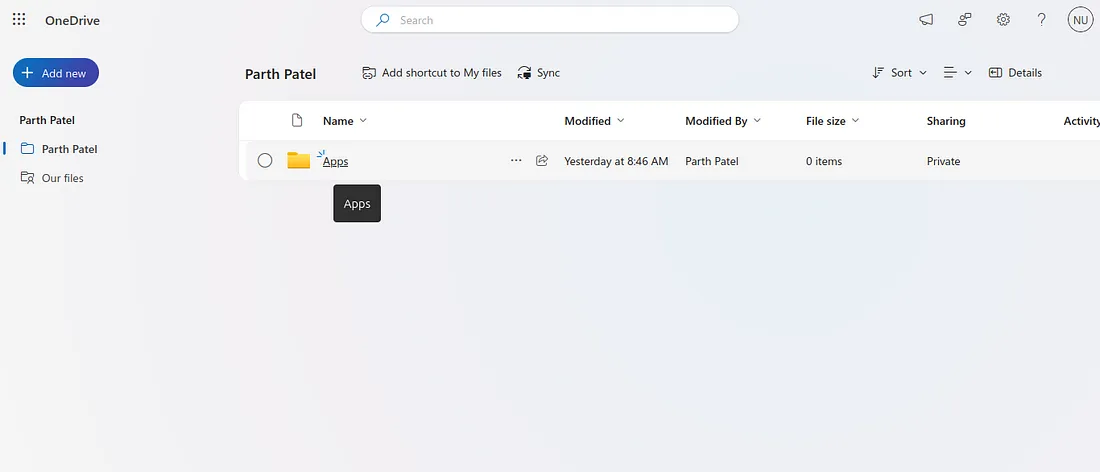
It will generate parth’s onedrive link for you(Admin). Click on that link.
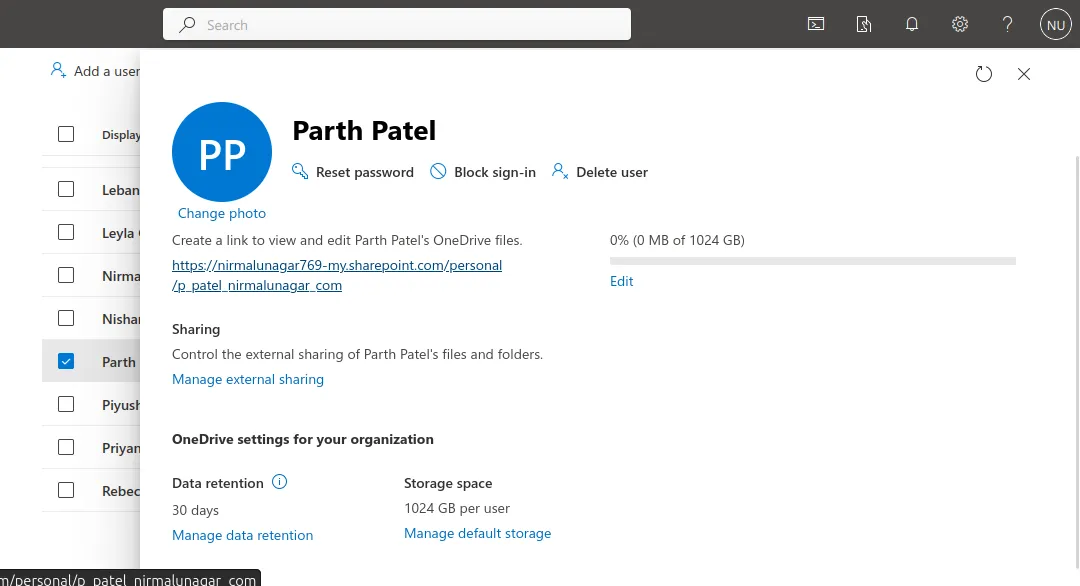
However, there seems to be no option for a recycle bin here. How do you plan to recover the file in this situation?
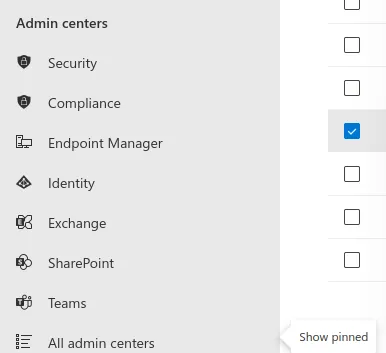
Go → Admin Center → Sharepoint.
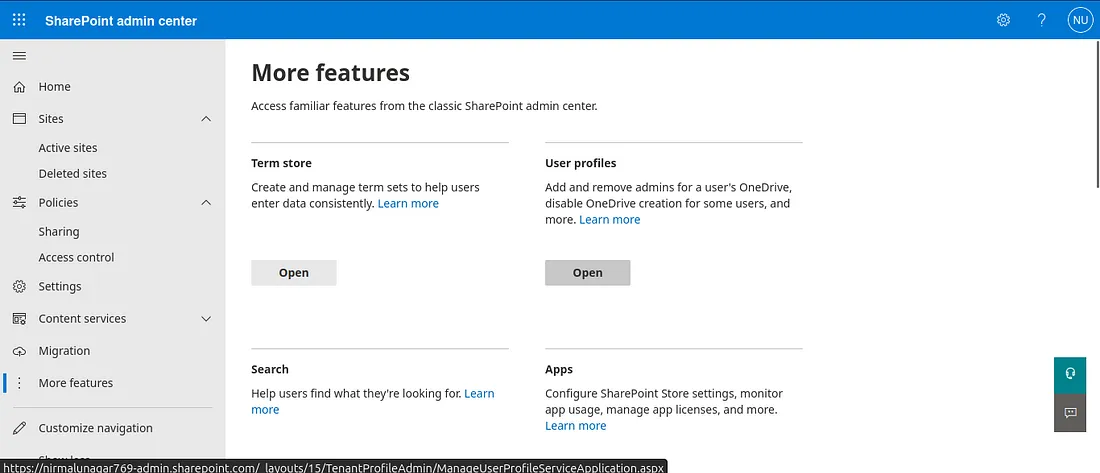
Click on “Manage User Profiles.”
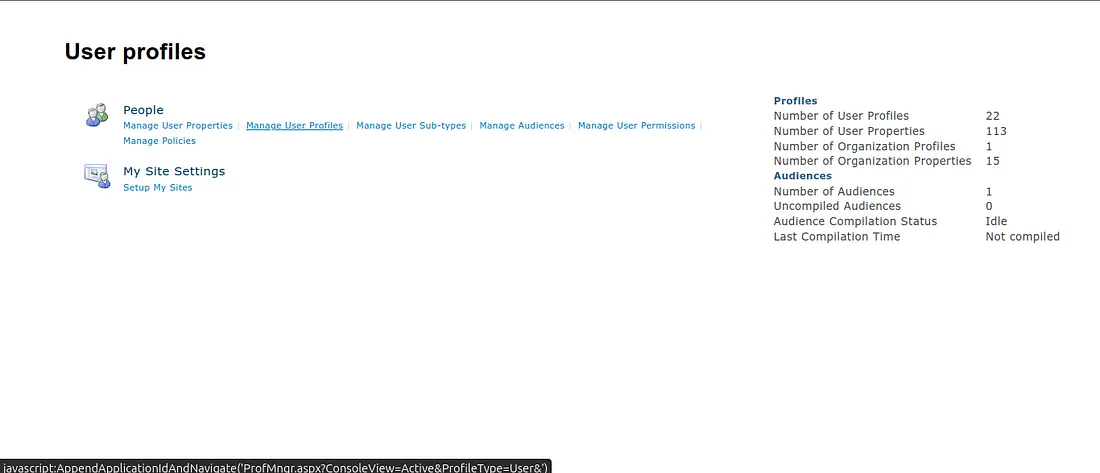
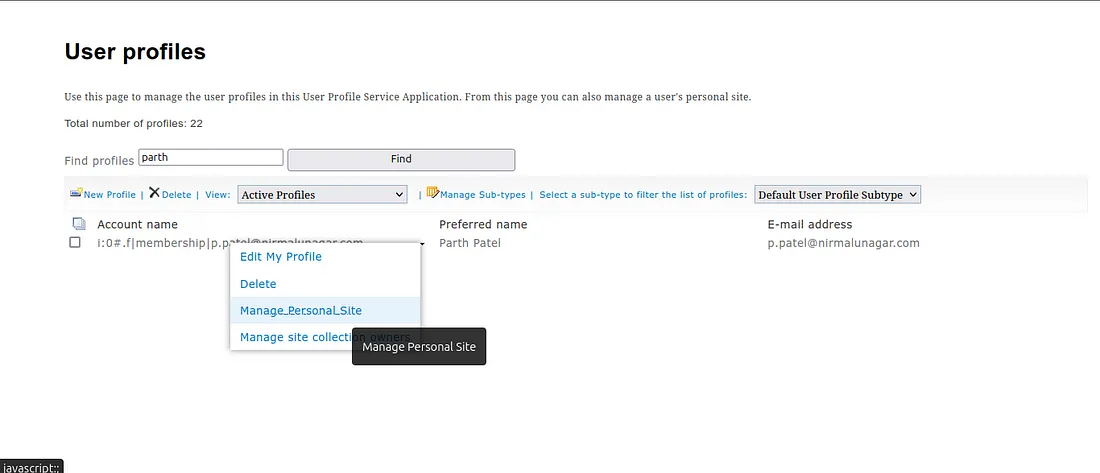
Search “Parth” → Select dropdown menu → Manage Personal Site.
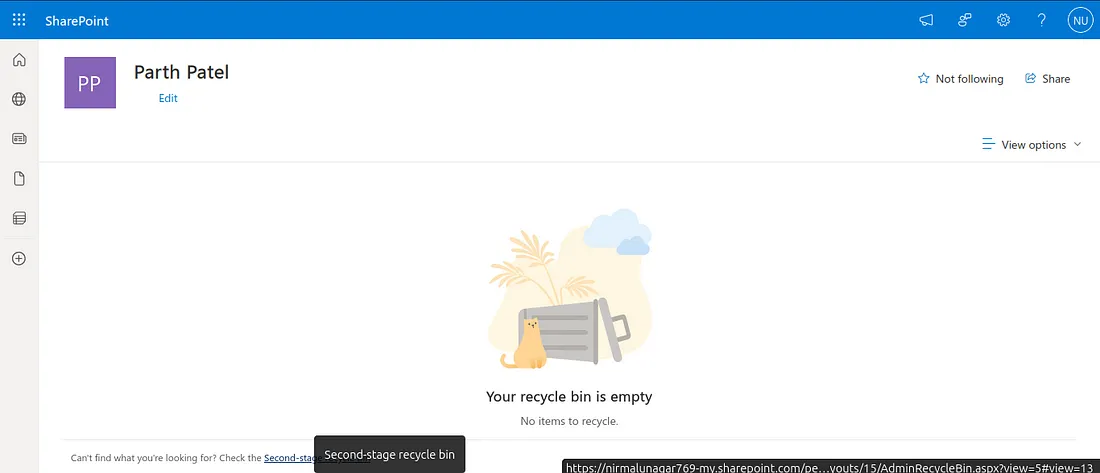
On this page, Go to “Recycle bin"
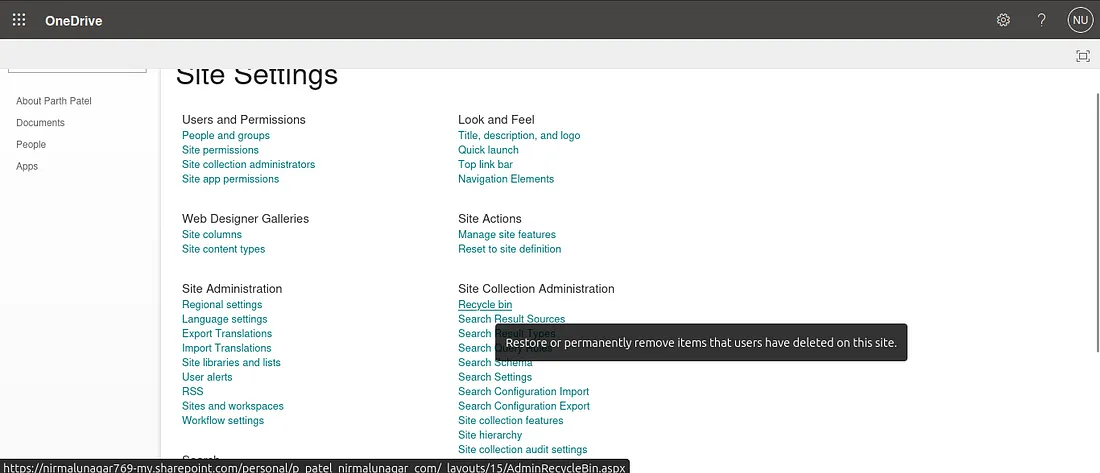
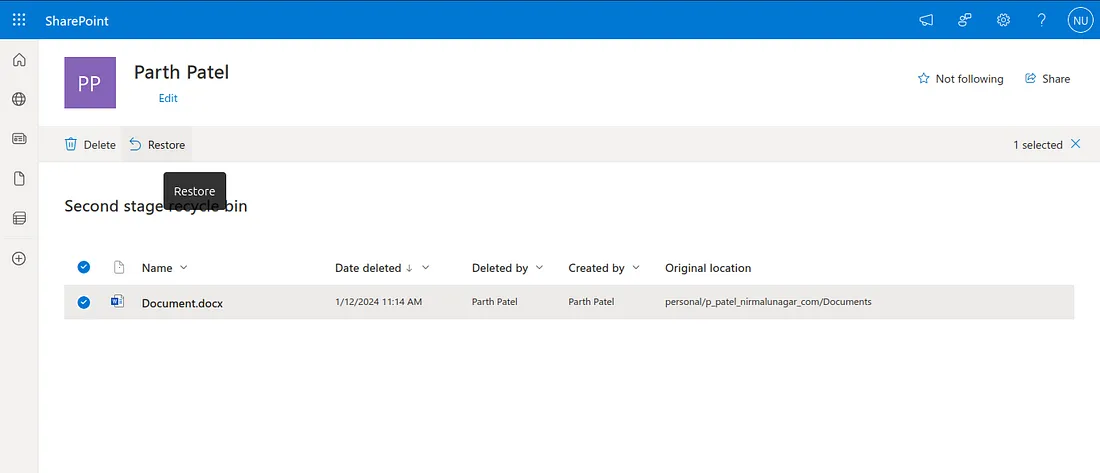
Scroll down and click on “Second stage recycle bin”
To recover the file, select the desired file and click on the ‘Restore’ option.
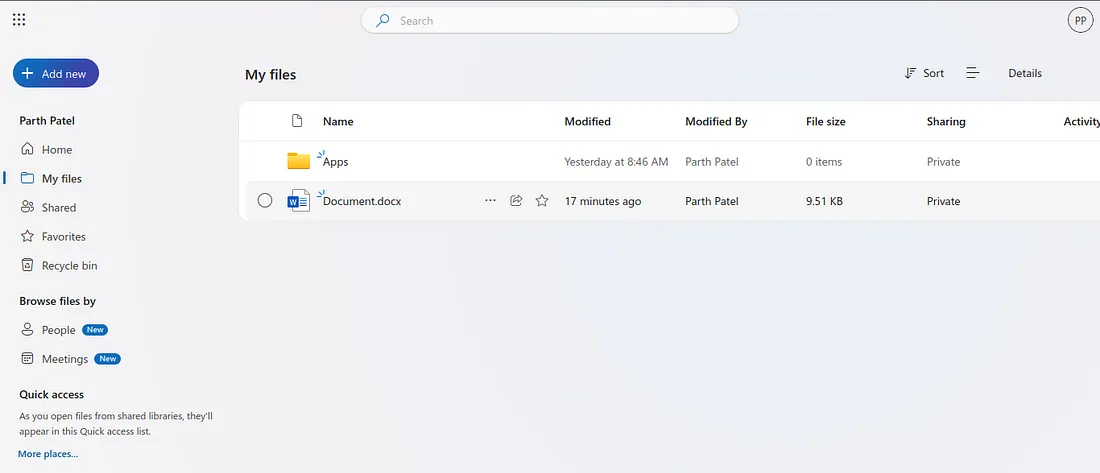
Now, in Parth’s OneDrive, you should be able to observe the recovered file.
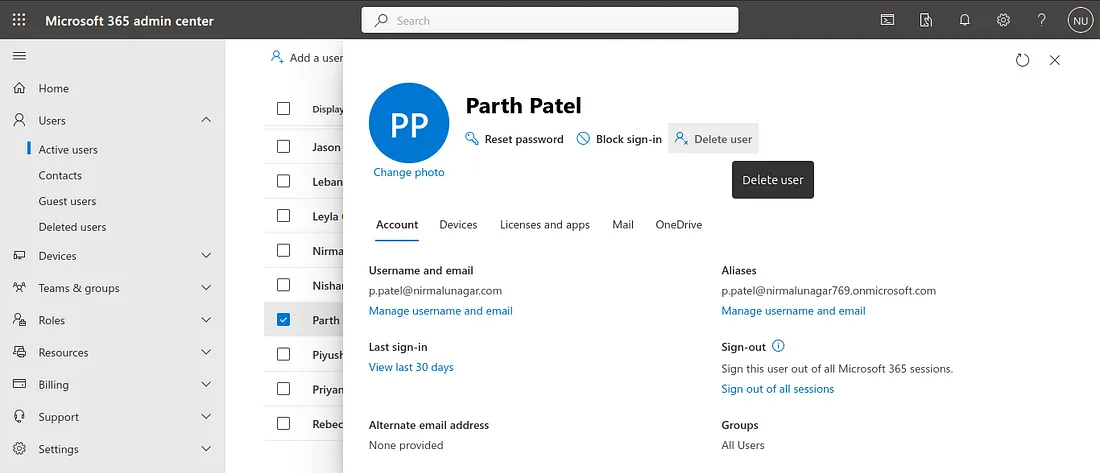
The final task is that Parth has left the company, and you need to delete his account along with all associated data.
Go → Admin center → Home → Active users → select “Parth” → Delete user.
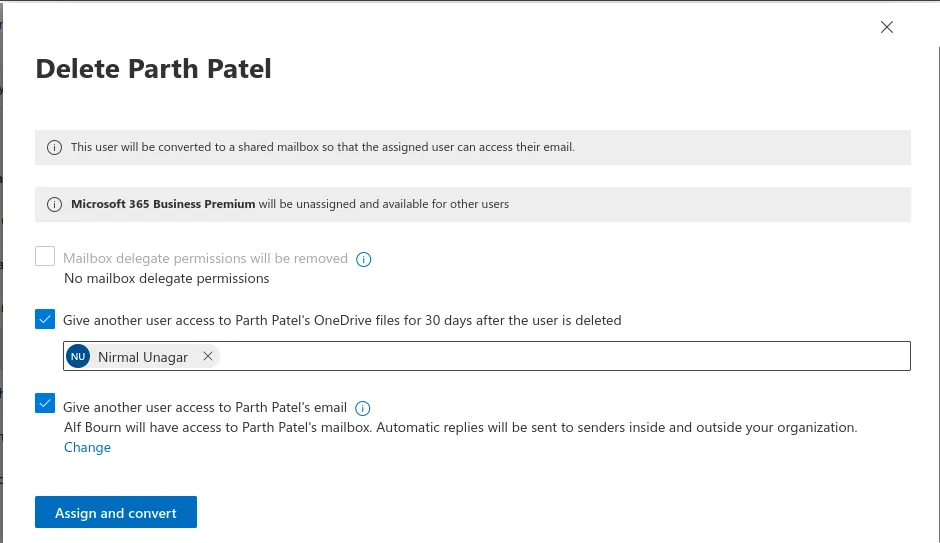
Check the ‘Give another user access to Parth’s OneDrive’ option and add ‘Nirmal Unagar’ so that Nirmal can access all of Parth’s personal files.
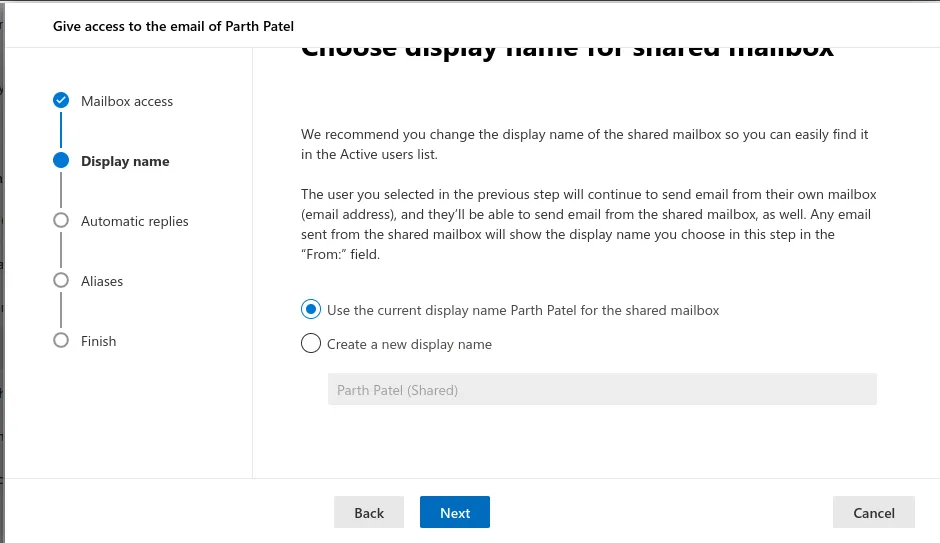
Select ‘Give another user access to Parth’s email’ and then click on ‘Required: Give email access to another user.’


Leave default and Go Next.
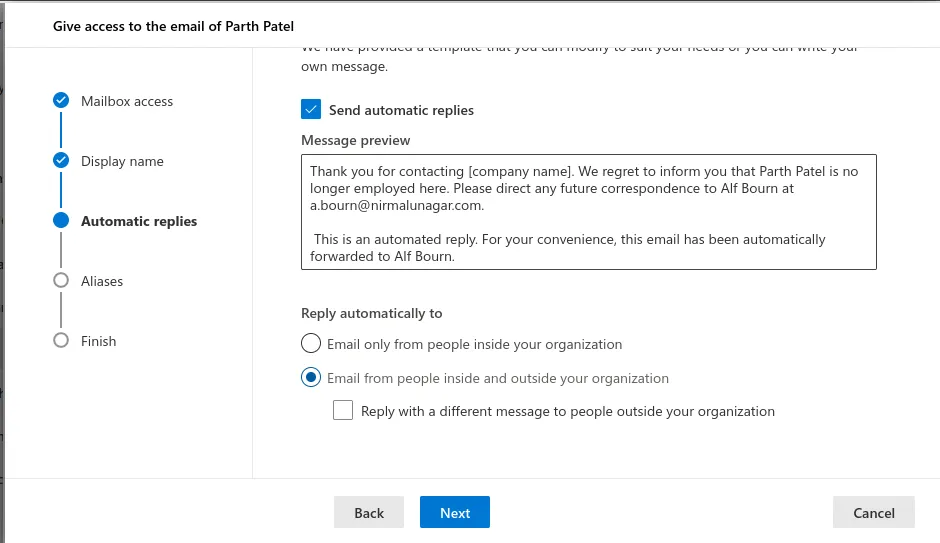
If a client sends an email to Parth, they will receive this message.
Select “Email from people inside and outside your organization” → Next
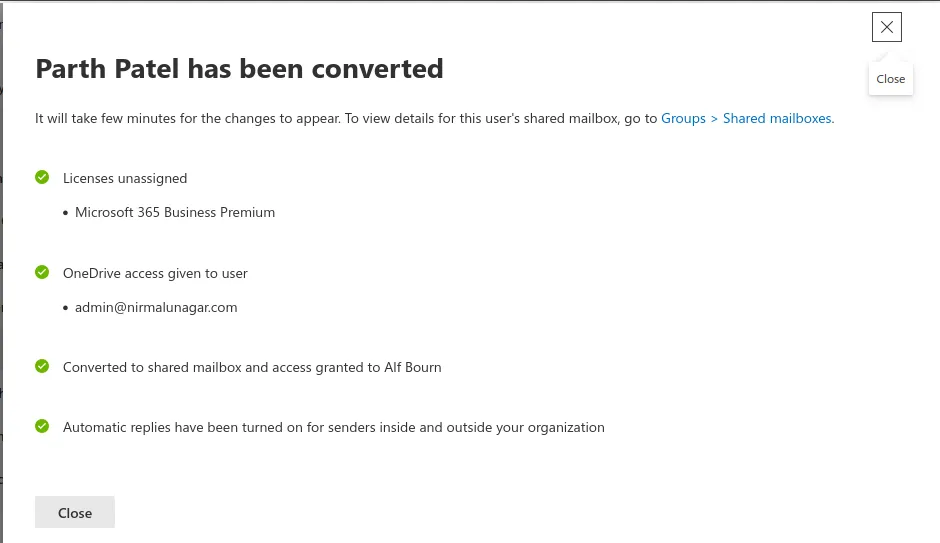
Click on “Select transfer ownership.”
Then click on “Assign and convert”

You will receive this message upon successful completion.
Microsoft employs a 30-day retention policy, allowing you to restore deleted user data within this timeframe if the company requires it.
In this demonstration, I aimed to simulate a real-world scenario to provide a fundamental understanding of how Microsoft 365 functions within a company. Additionally, future articles will cover topics such as security measures, mail rules, Azure AD (Enterprise ID), and more.
Thank you for your attention. Now, let’s dive in and get our hands dirty! Don’t forget to follow me for more updates :)
Resources :
Thank you for your attention. Now, let’s dive in and get your hands dirty! Don’t forget to follow me for more updates :)